Okay, so you’ve found the design. You’ve been searching for months on end, and at last you saw that picture on Pinterest that stopped you dead in your tracks. You stood from your chair, threw your arms in the air and shouted, “THIS IS IT!” Alright, maybe it was a little less dramatic than that. But bottom line is, you know you want that Chippendale or that Cathedral Picket look, but don’t quite know where to go from there. Then you’ve come to the right place! Let’s break it down.
Our railings are meant to be installed after your core posts / columns are in place. You may be replacing an existing railing and already have them installed. Great! You’re ahead of the game. If this is a new build, or you are installing railings for the first time on a patio or deck, then you will need to anchor those posts in place. There are many different ways to do this, and I would recommend consulting your builder about the best method. Once those posts are installed, we do sell Post sleeves and caps to slide over 4×4 or 6×6 posts. (These are not full floor-to-ceiling column wraps–those you will have to purchase elsewhere).
Our PVC railing panels are simply the infill to your railing system. You still need the structure of a top and bottom rail. There are many different ways to install our railing panels (probably more than we’ve even thought of ourselves!), but we’ve broken it down into three different methods of installation using different products, based on your specific needs and / or wants. These options are:
- Installation using Deckorator contemporary rail kits
- Installation using site built railings
- Installation using other railing systems
Now let’s get into the specifics. Why choose one method of installation over another?
1. Installation Using Deckorator Contemporary Rail Kits
WHY? You want a full system that is low maintenance, easy to install, and NEVER (yes, you heard that right) has to be painted.
Take a look at this video for more information:
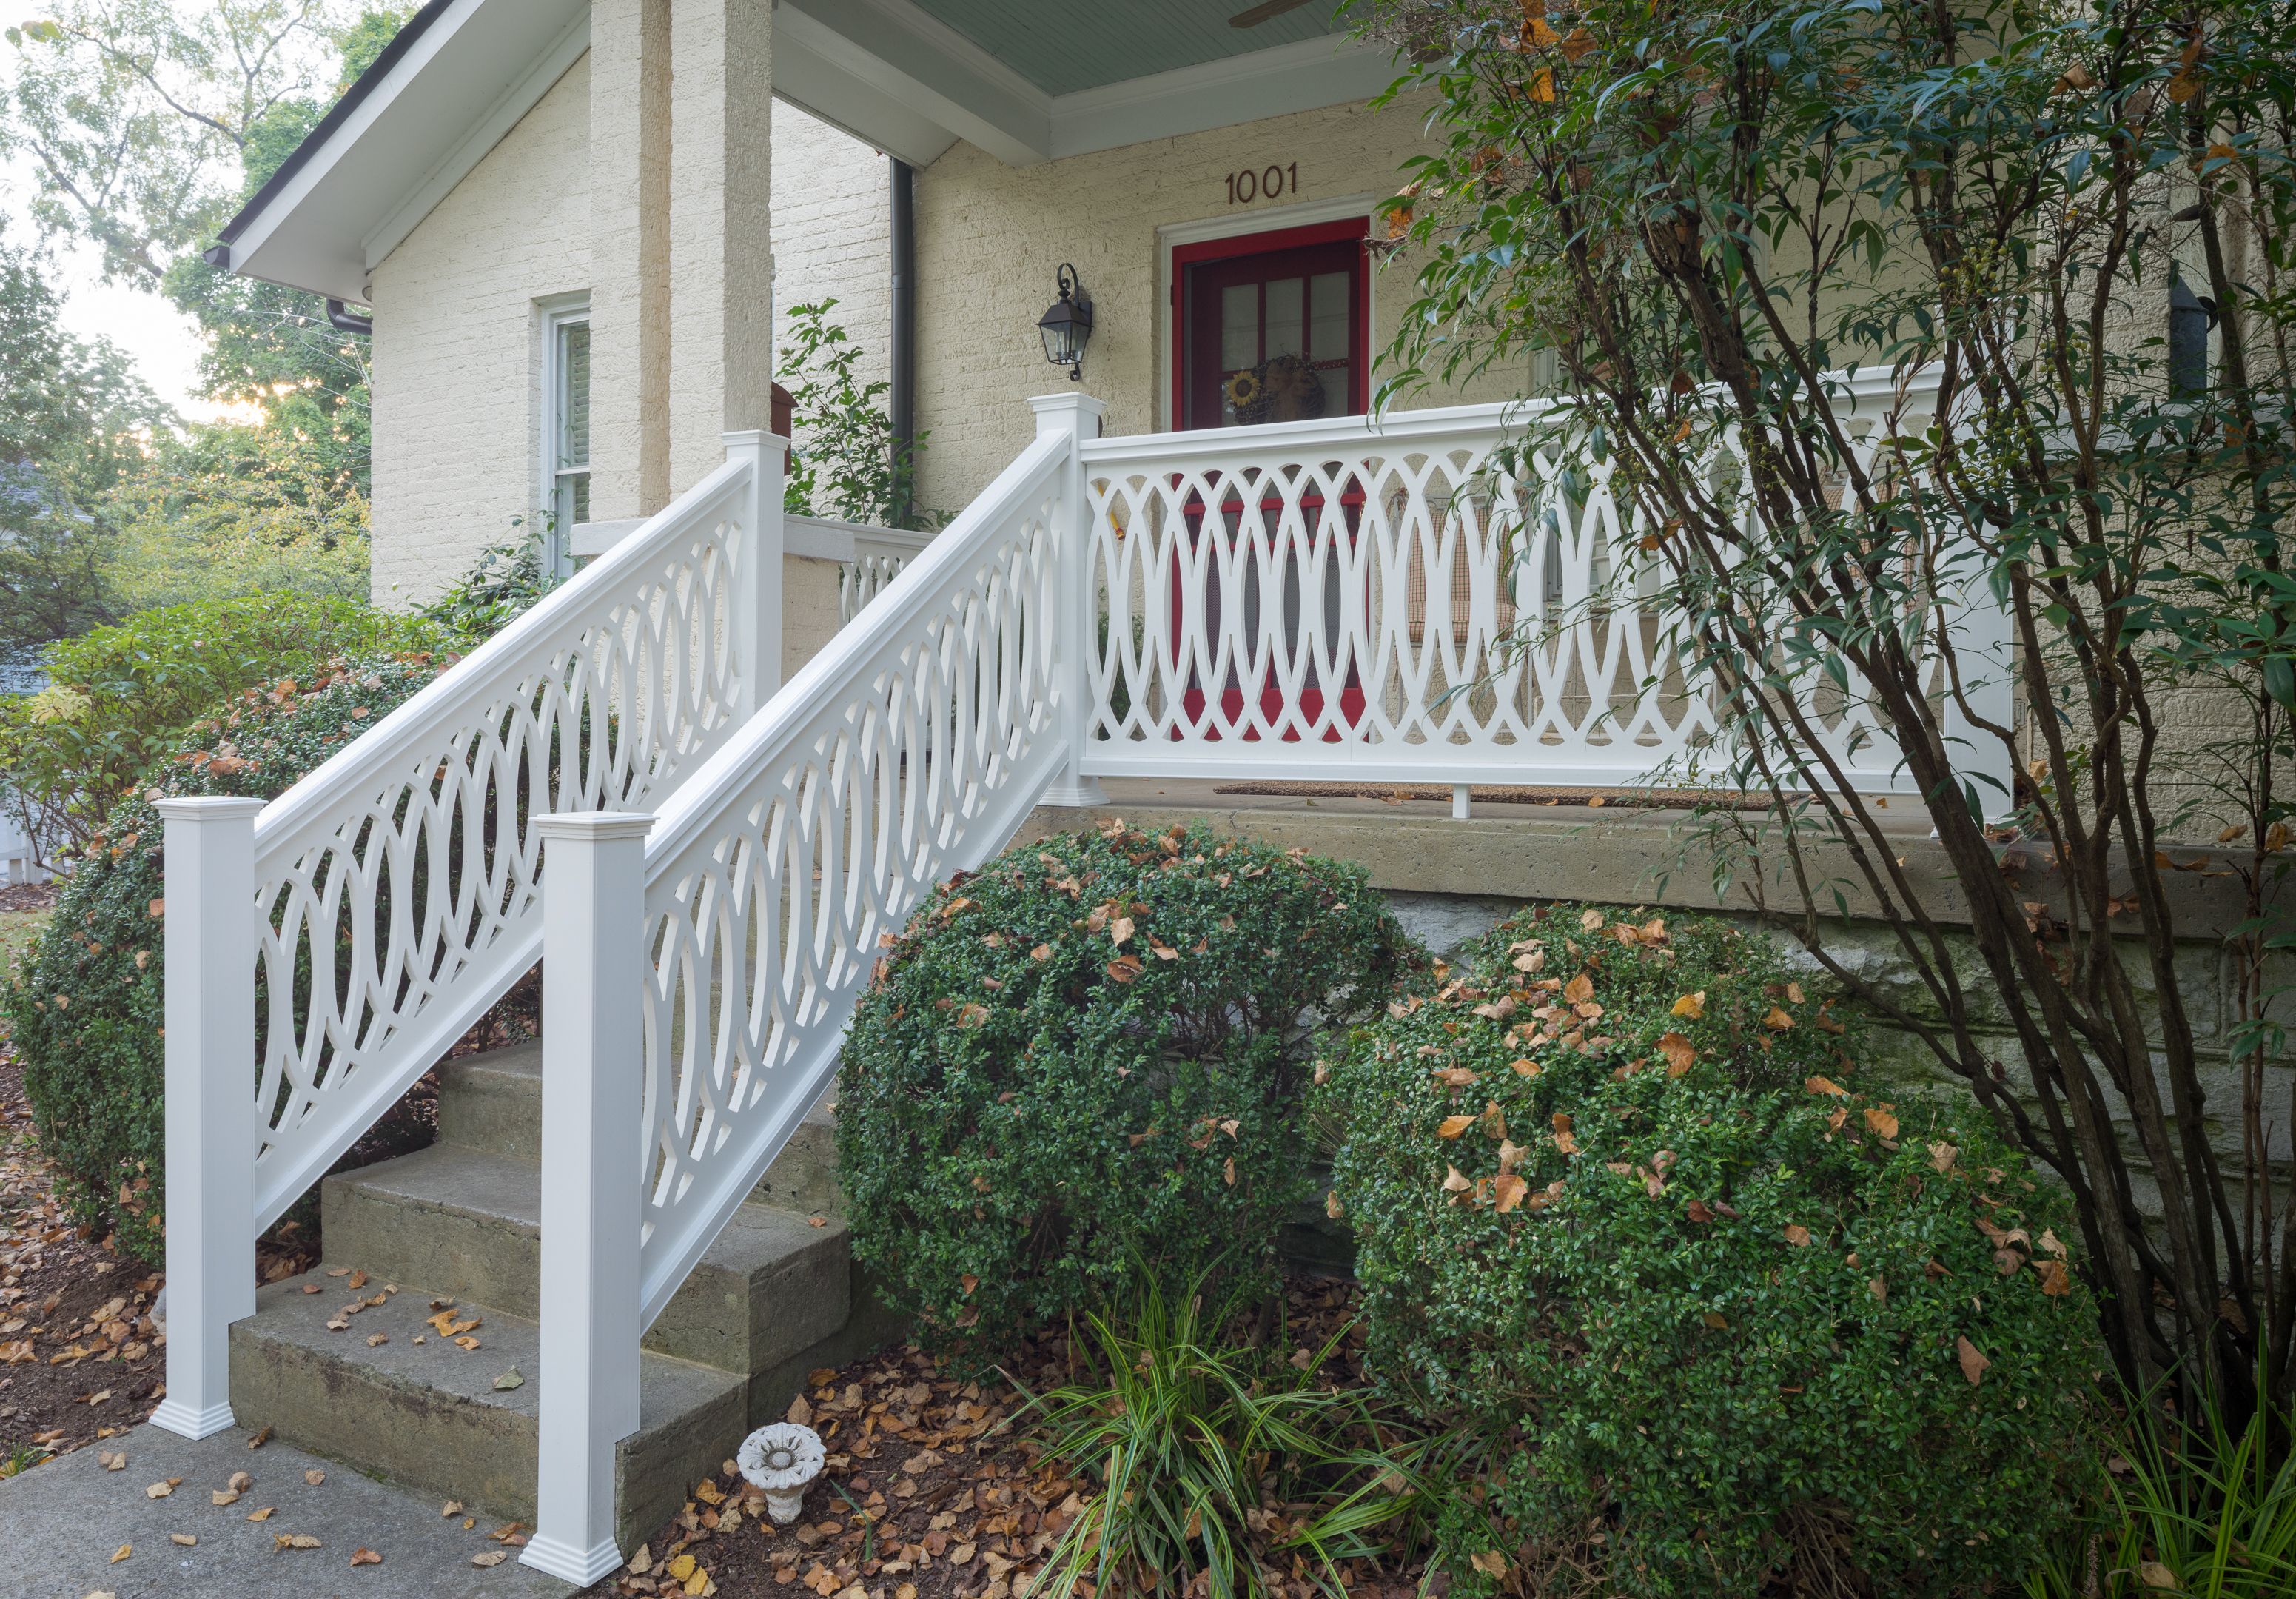
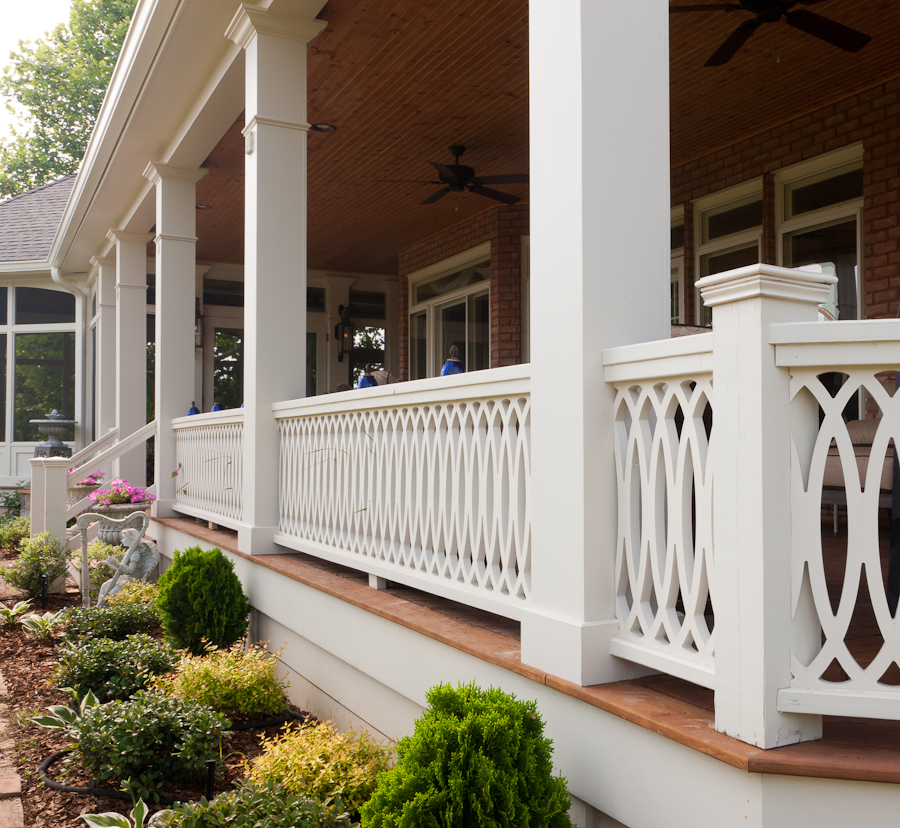
And check out these projects that installed PVC Railing panels with Deckorator railings:

GREAT! Sold! Why would I need to consider any other method?? Well, there actually are some reasons these Deckorator contemporary rail kits might not be the right product or method for you. Read on, good porch lovers!
2. Installation Using Site Built Railings
Another option is to build your own top and bottom rails using wood, or a combination of wood and PVC (you do need wood for structure / strength!). There are a few reasons you might want to do this:
a. Cost: Although the labor cost might increase, the material cost is less than that of a pre-fabbed system.
b. Length of sections: The Deckorator contemporary rail kits span a max of 8′. Have a section that is longer? Great! Build your own. It will be up to your builder at this point to ensure the railings are structurally strong enough to meet codes.
c. Painting: Want to paint your railings a color other than white or black? Perhaps you want to match the tan colored trim on your house. The Deckorator contemporary rail kits are not meant to be painted. The coloring is co-extruded with the product, and therefore painting these will void the warranty of the product (and honestly, be a bit of a pain). The PVC Railing Panels, however, can be painted. So if you build your own rails, this will allow you to paint your entire railing!
We have prepared another video that demonstrates installation with site built railings. Check it out!:
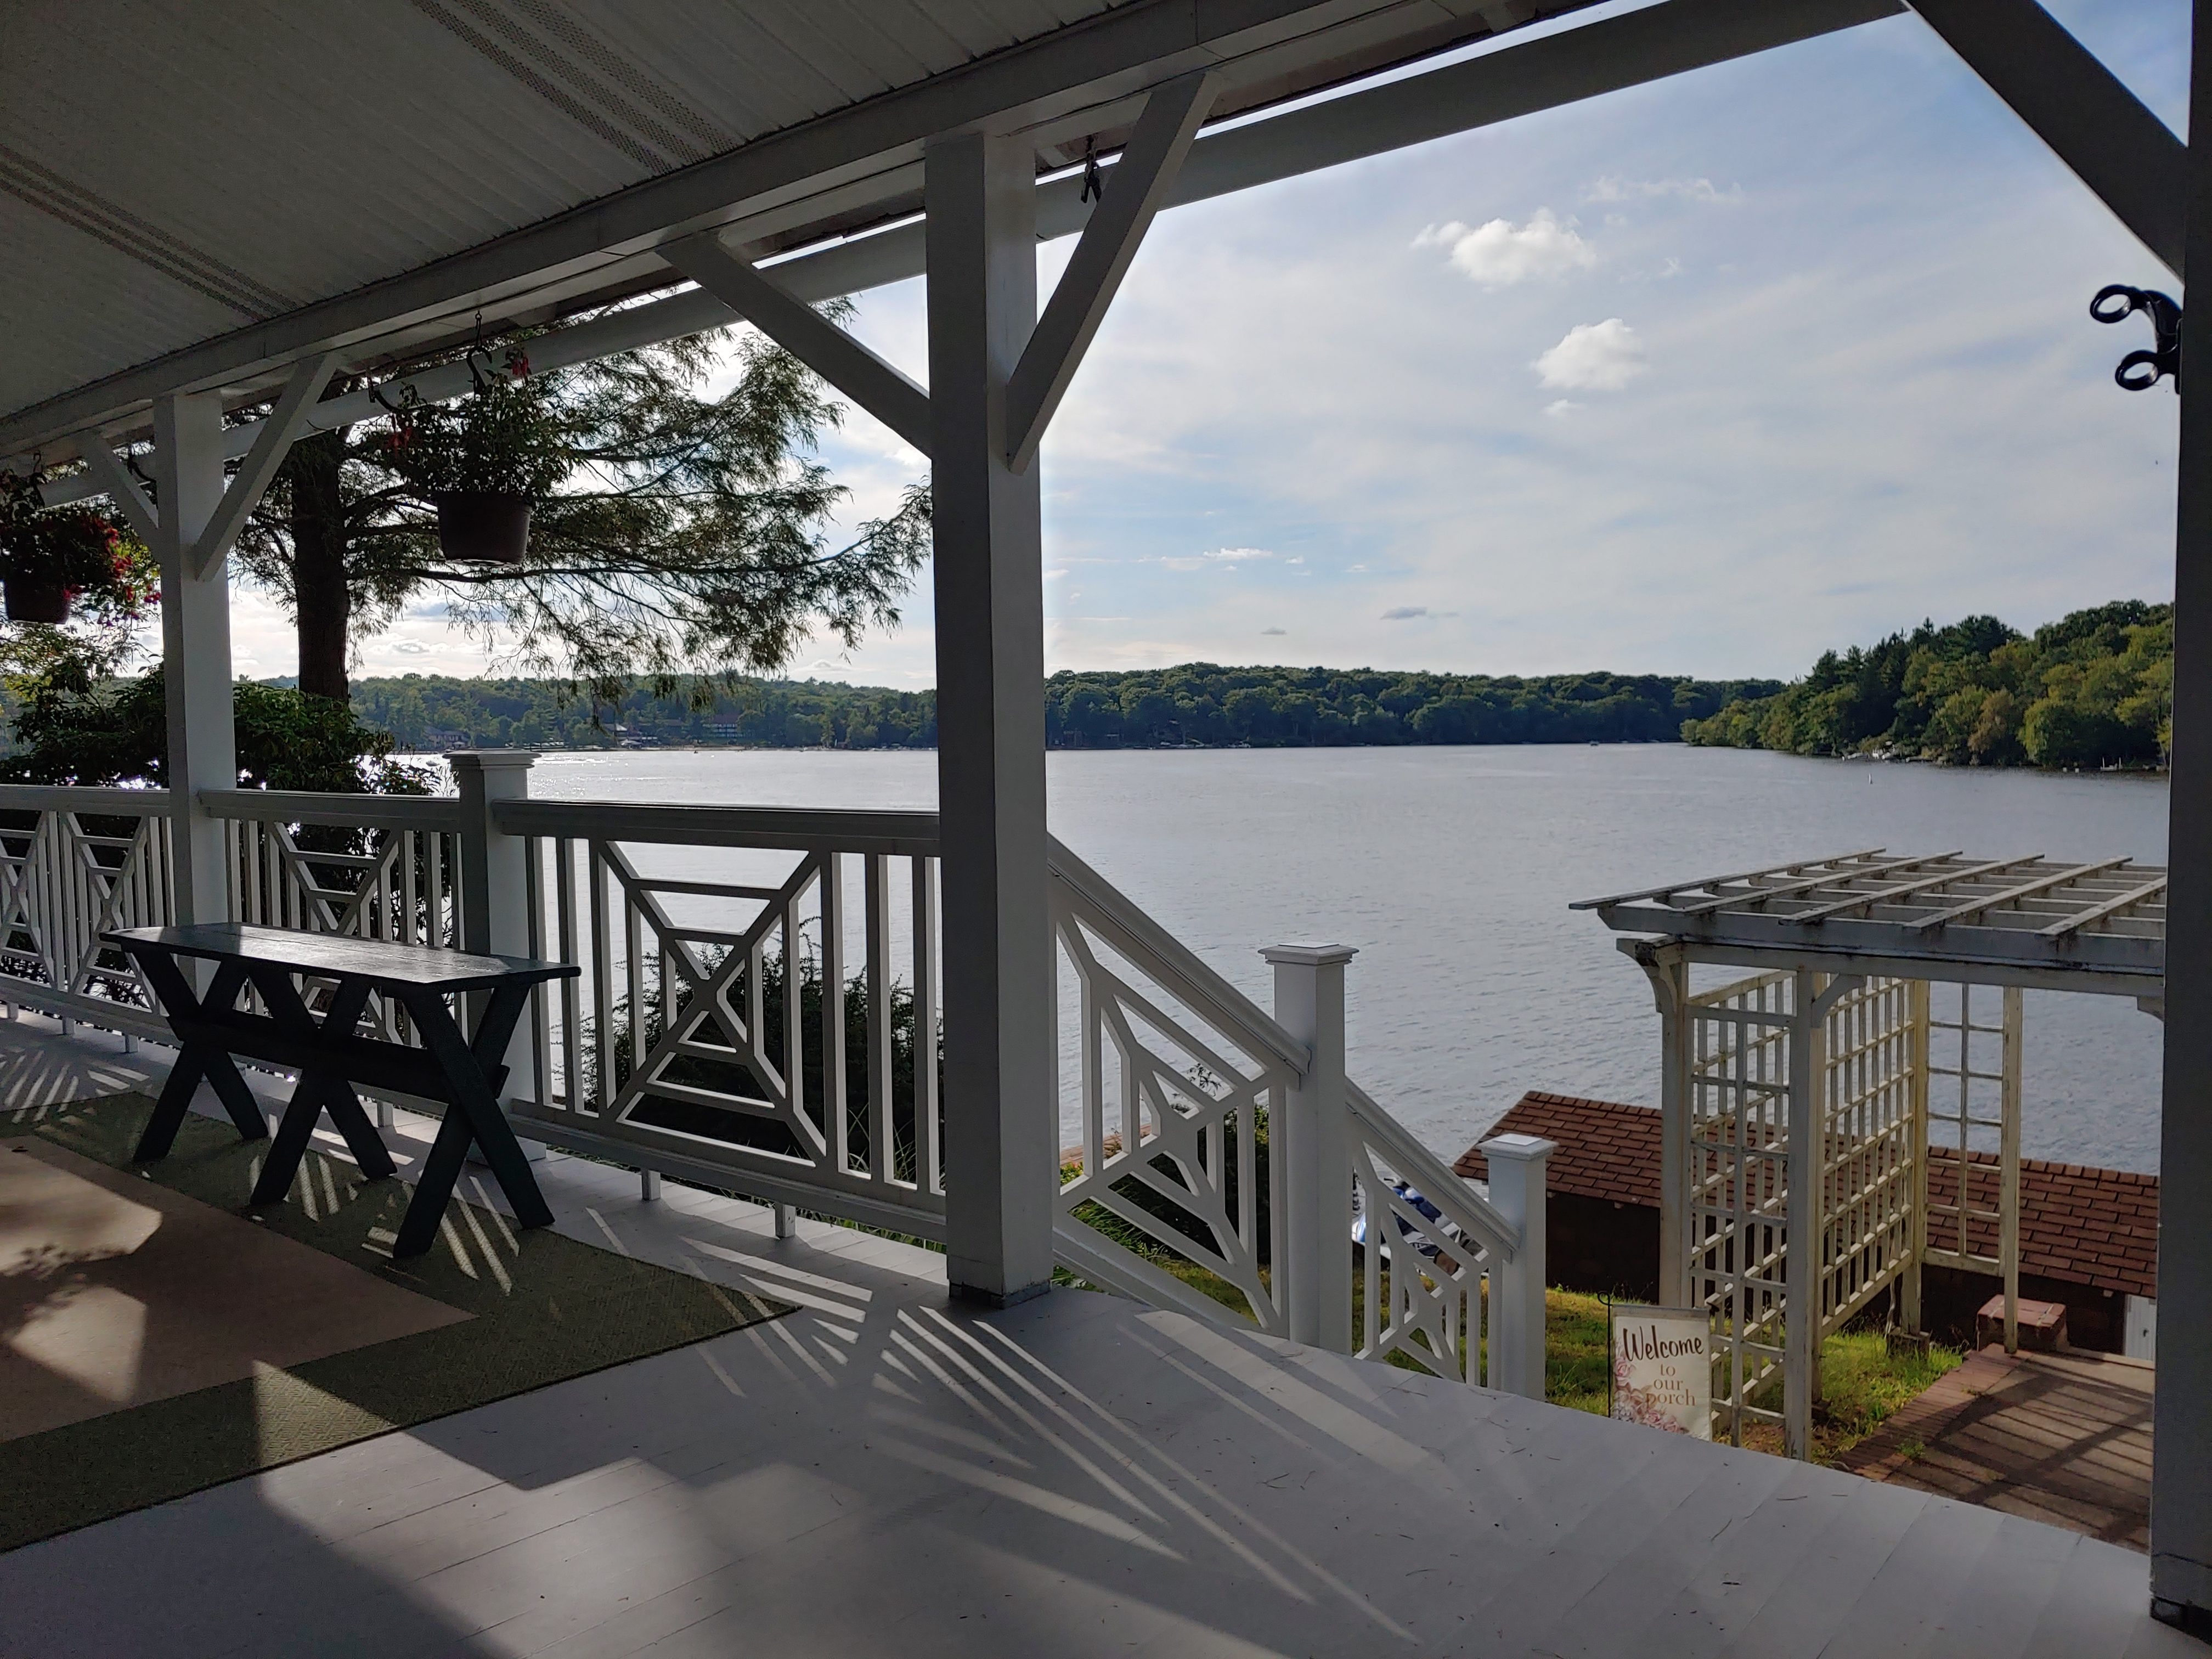
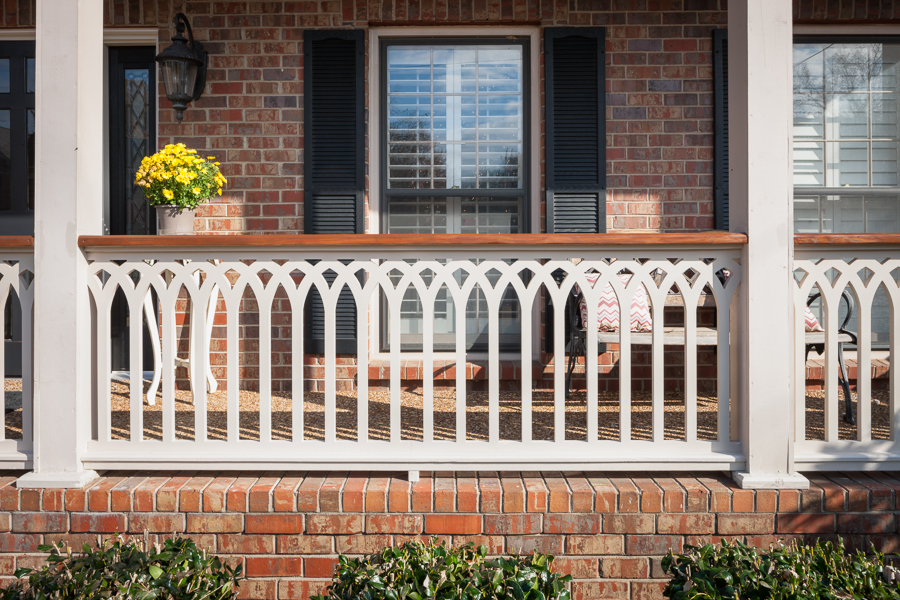
And take a look at these fabulous PVC Railing Panels installed with site built railings:
3. Installation Using Other Railing Systems
As I explained earlier, there are a million (don’t quote me on that number) different ways these panels can be installed! You might have an existing railing that you want to salvage while swapping out the balusters for our panel designs. You might enjoy the different color options that other handrail systems provide, or even be able to pick some up locally rather than have them shipped. We understand! These PVC railing panels can be cut and screwed just like wood. So if you have a skilled carpenter that you trust, the sky’s the limit with installation.
Another Helpful Tip!
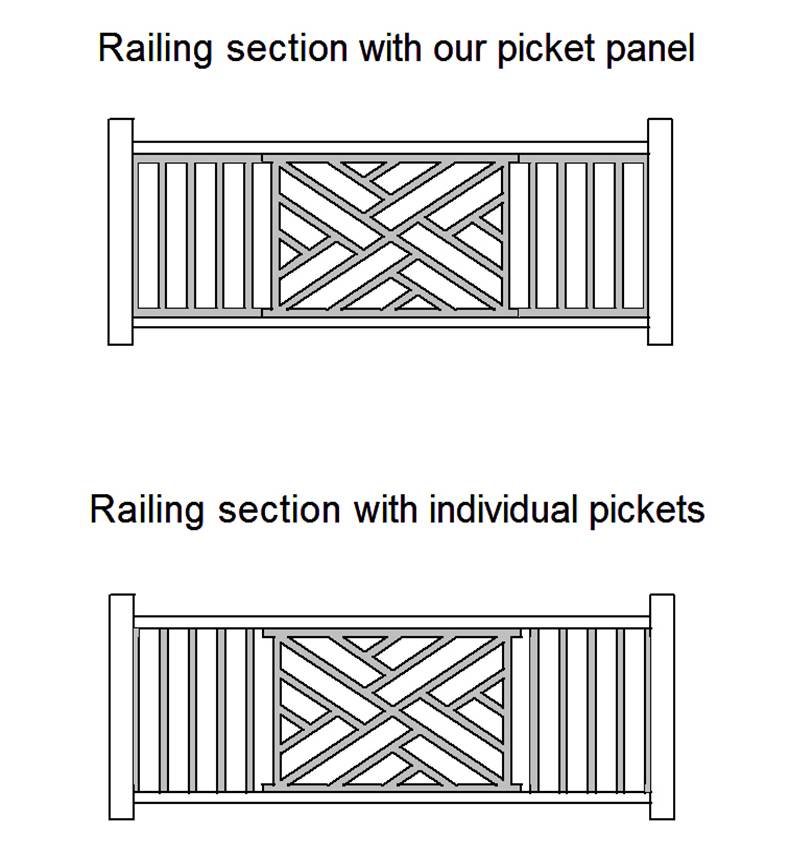
Although there are many ways to install these railings, and we encourage you to explore those options, we do not recommend installing any of our standalone designs (like The Chippendale or Southern Cross, or any other non-repeating pattern) with your own 2×2 wooden balusters. Why?? Because it just won’t look 100% right. For one, your balusters will likely not be the same material or thickness as the center panel. Secondly, we design our panels so that there is a top and bottom border (which is necessary for installation), and that border extends to create these small tabs on each corner. We design them this way so the panels can be butted up together and cut as needed to fill different spans. If you use your own pickets, these tabs are just kind of floating there, creating an unfinished look. You could cut these off, but you would not have that same border top and bottom on your pickets as you do your center design. You can see in the drawing below why individual pickets vs. our Picket Panel might not be the best choice:
Have more questions? Still don’t quite understand what the heck we’re talking about? Check out Our Installation Page, send us an email at porchstore@porchco.com, or give us a call at 615-730-8067. If you’d like to send us your plans and photographs of your project, we’d be happy to prepare an estimate for you. We are not robots, we like to think we are pretty friendly, and we are here to help in any way we can 🙂
Rachael Moore Bornhop
E-Commerce & Marketing Manager
