 If you’ve ever had a wooden gate then you know— they are a pain. Unlike a door with an overhang, they are fully exposed to the elements. You’ve hardly had time to admire your beautiful new gate before it has to be re-painted or re-stained. And then, you have to do it again. And then, you notice the wood is rotting anyway and your gate is starting to sag and stick. And then, you are re-painting and re-staining and re-hanging over and over and over until… you start googling ‘low maintenance gates’. And perhaps that’s what got you here!
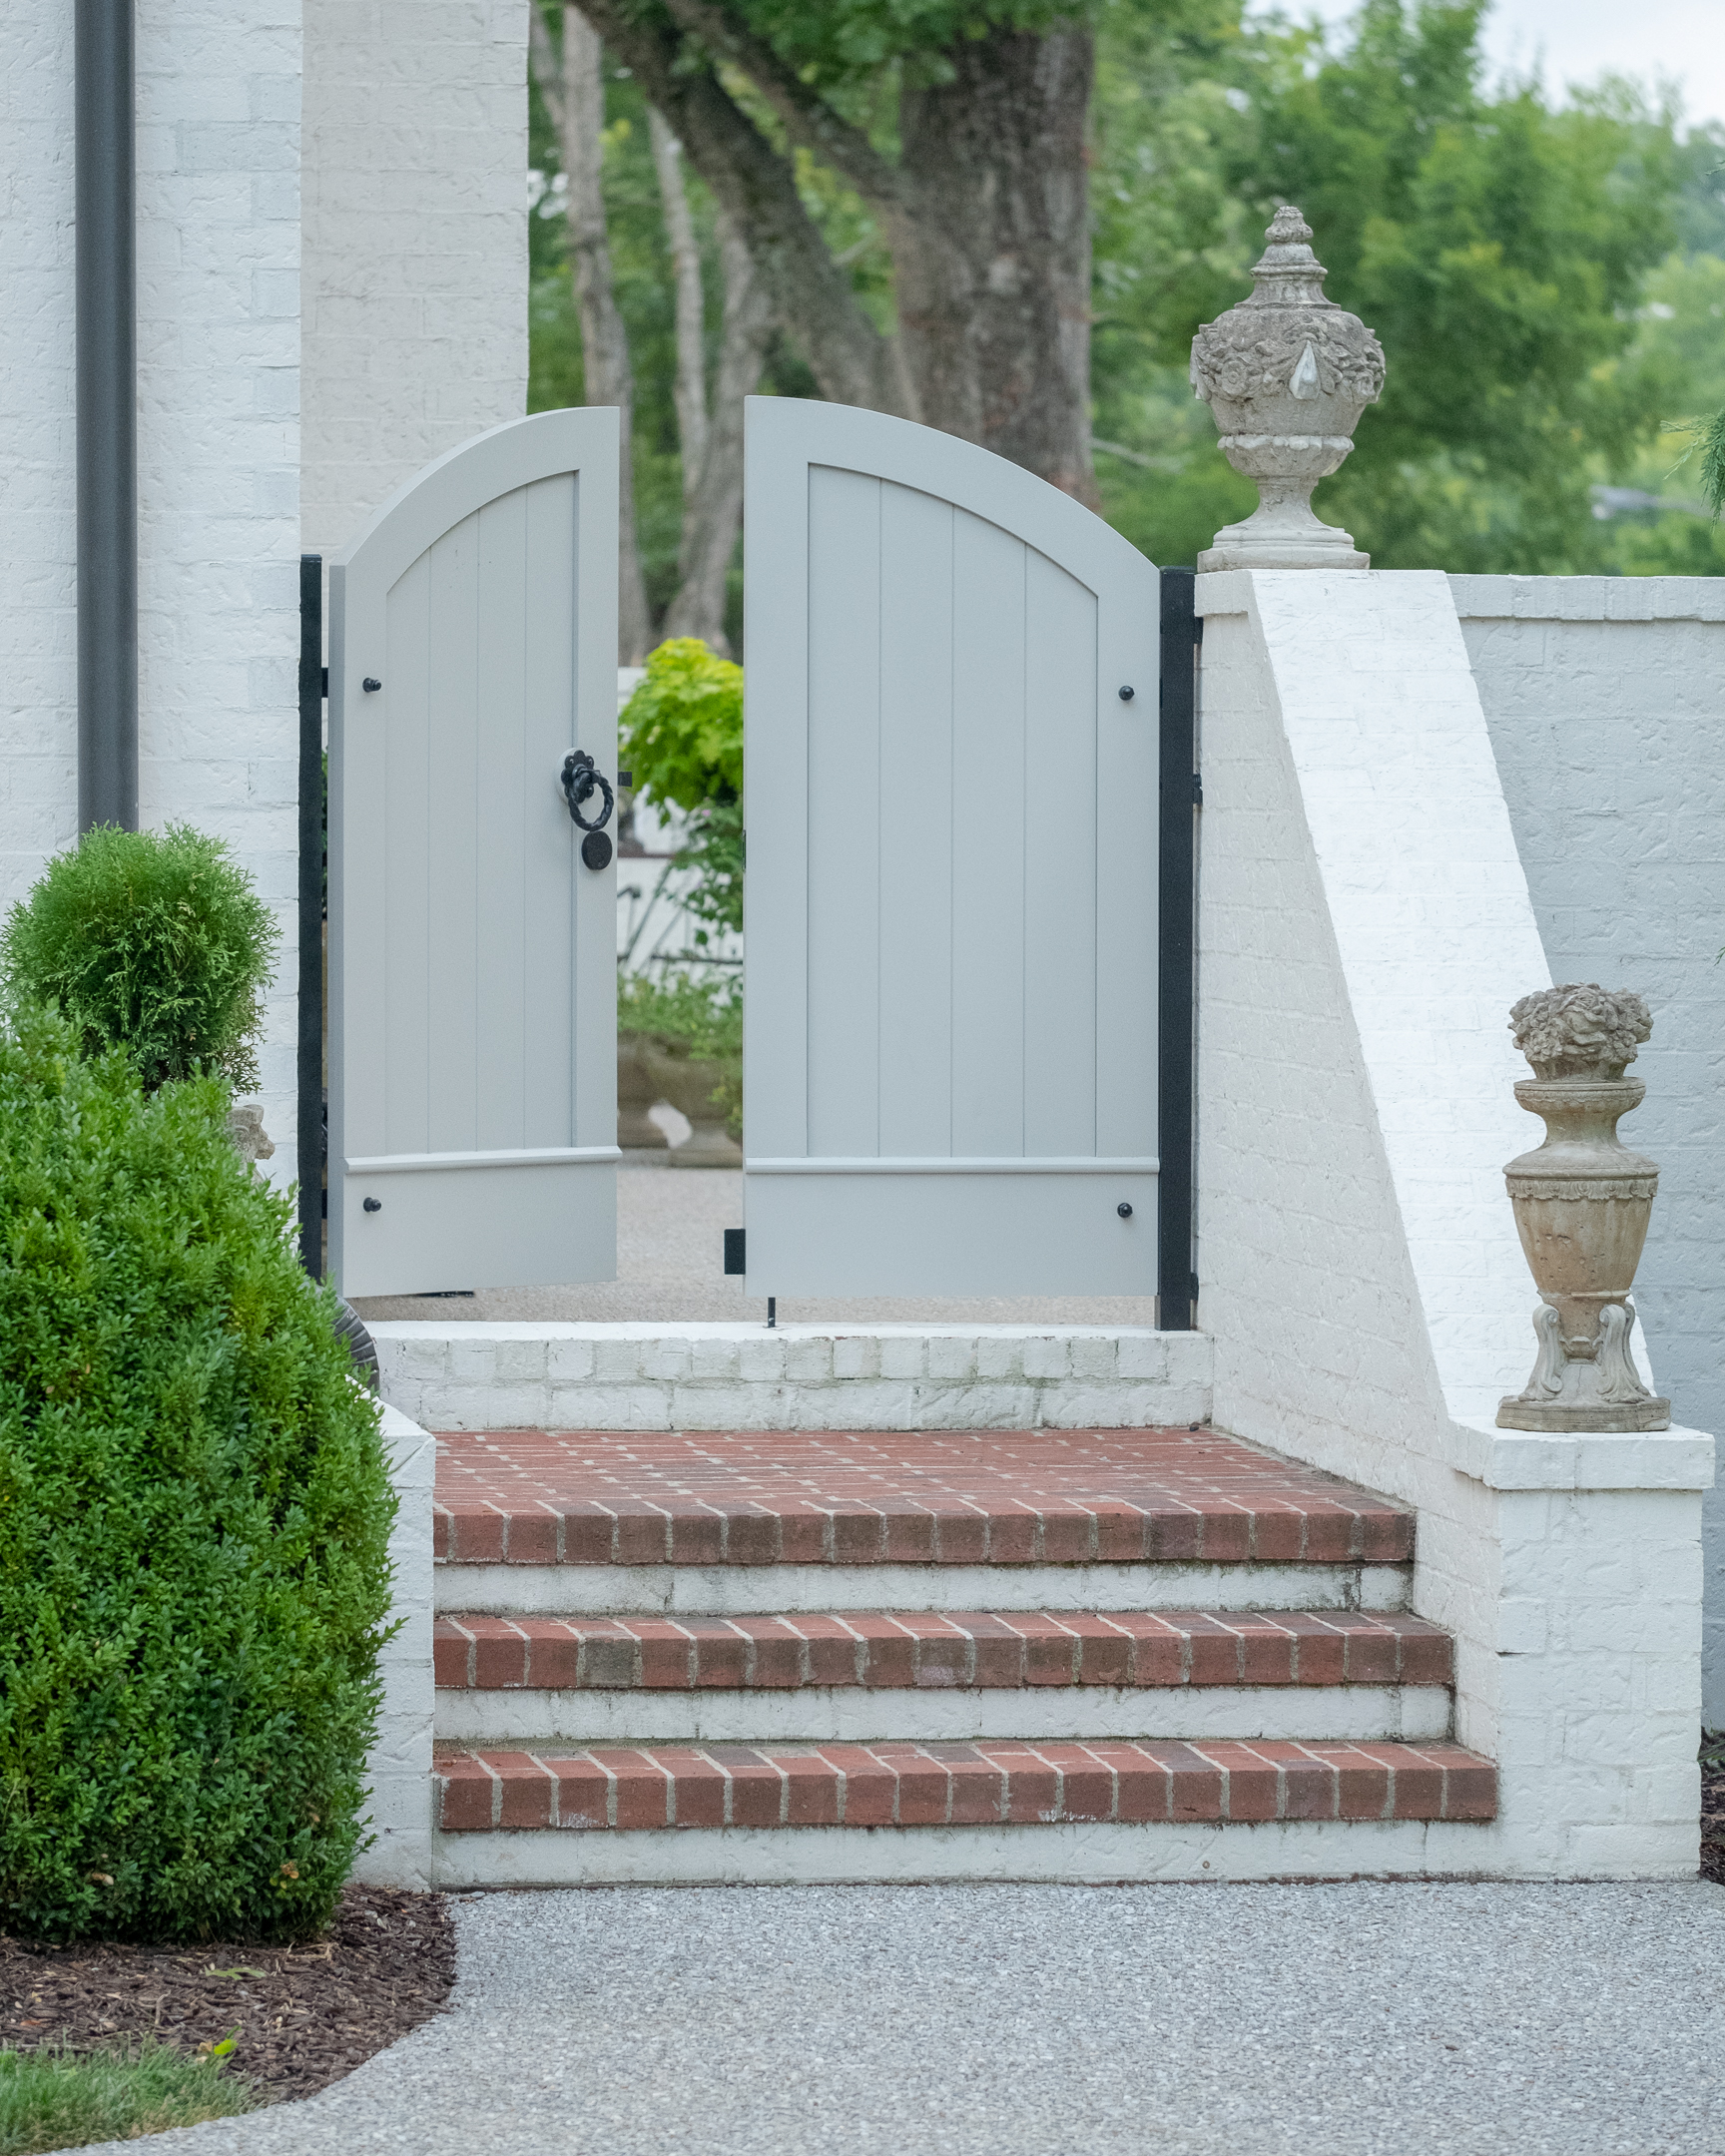
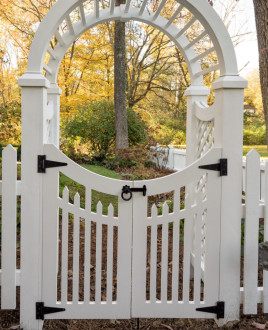
Or–perhaps you’ve been on board the low maintenance material craze for a while. Either way, welcome. We decided to start manufacturing solid PVC gates for this very reason. These gates will never rot or decay, and don’t have to be painted (unless you wanted to – in which case, they hold paint much better than wood. Be sure to read through our painting instructions here). Not only that, but because they are cut from our CNC machine at our shop in Nashville, TN, the design options are endless.
So if you’ve gotten this far, you are likely already sold on PVC Gates. And now–you’re trying to figure out just how to actually hang the darn things!
We don’t have written step by step instructions for gates like we do with some of our other product lines, such as our Railing Panels. That is because every application is different, and requires a different method. So let’s talk through some of those scenarios!
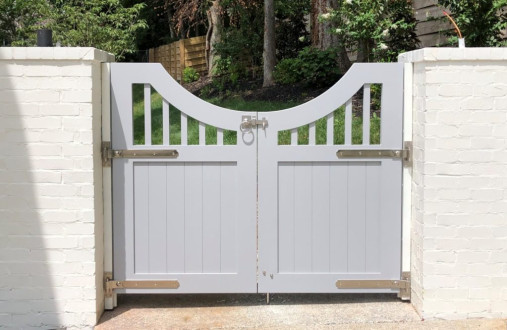
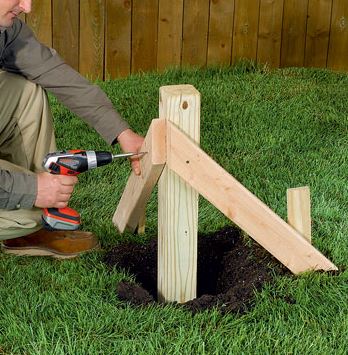 Before you can do anything, you need to get your structural posts set. If you are installing our larger laminated gates, we recommend having your installer set structural 6×6 posts 30″ into the ground. For our smaller flat sheet gates, you might be fine with a post set 18″ deep. Keep in mind the taller / heavier the gate, the more torque is applied when the gate is open. If you are installing our smaller flat sheet gates on an existing deck and do not have posts, a post anchor such as the Titan Post Anchor could be a solution. Either way, these posts should be plumb, and should be spaced so that there will be a 1/2″ gap on either side of your gate. In other words, if you are purchasing a 42″ wide gate, you will want those finished posts (keep in mind any sleeve or wrap sizes) to be 43″ apart. For double gates, also account for 1/2″ gap between your gates.
There are many different methods for setting or anchoring posts, so your installer will need to determine the best method for your situation.
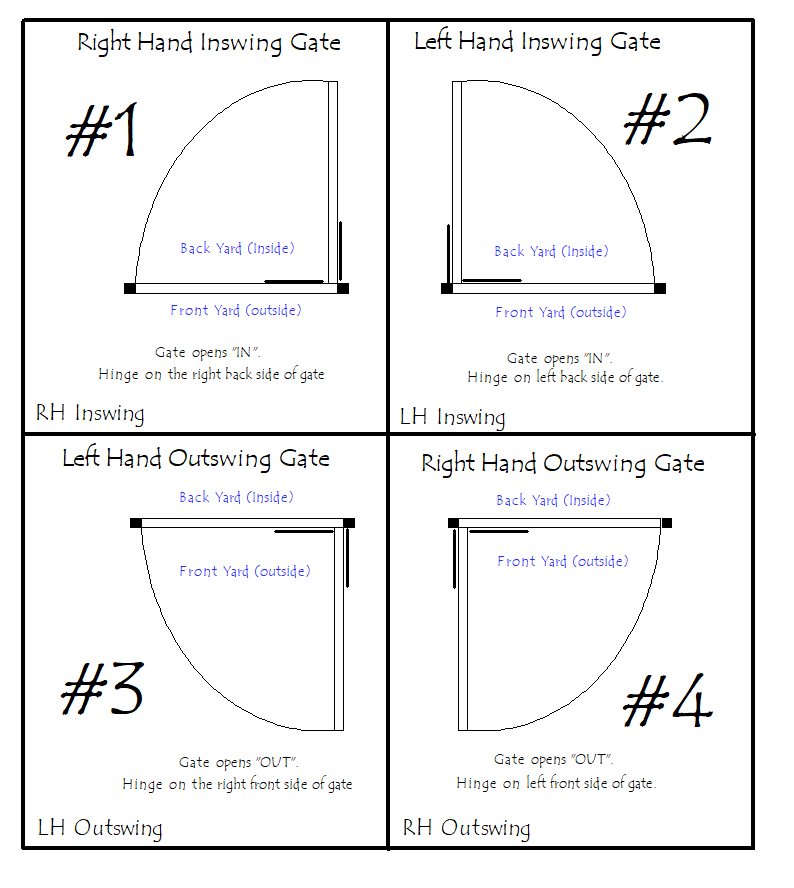
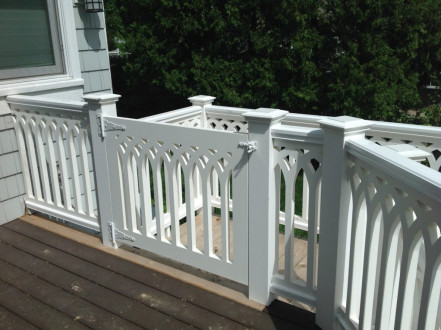
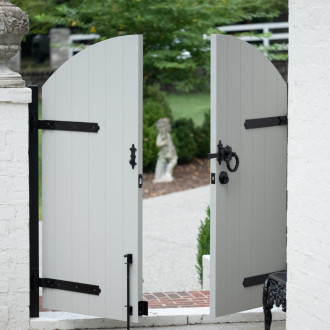
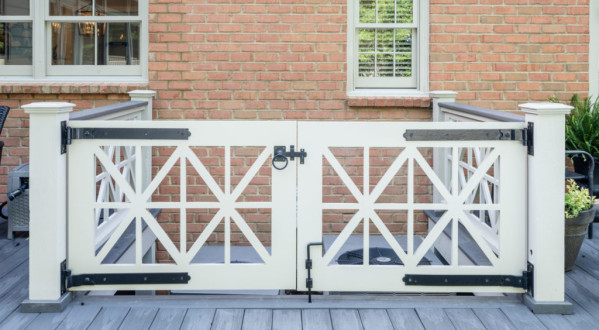
The next step before installing your gates, is to have a plan for hardware and hardware placement. We recommend for each small flat sheet single gate using two hinges on one side, and a latch on the other. For small flat sheet double gates you will need 4 hinges (2 per gate), 1 latch, and 1 surface bolt. On our larger laminated gates, we recommend 2 – 3 hinges per gate. You will want to install your hinges so that the gate has your desired inswing / outswing:
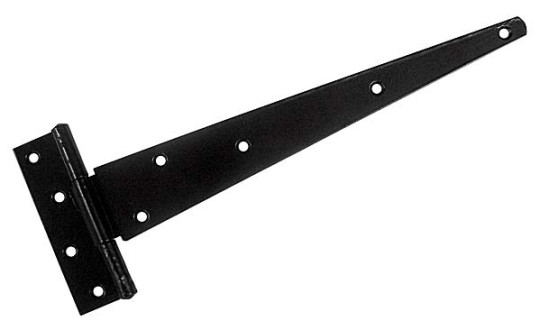
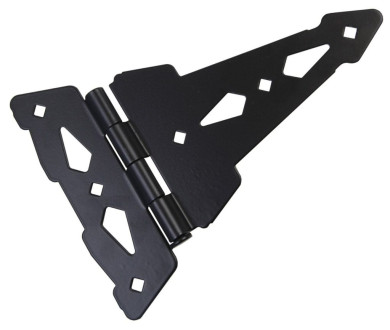
 Our favorite brand of gate hardware is Abbey Trading. We recommend these T hinges for your gates. For our larger laminated gates, we recommend choosing the length of strap hinge to be about half the width of your gate.

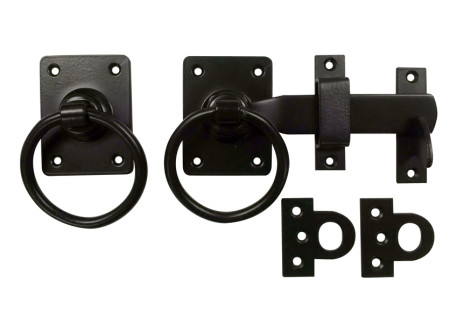
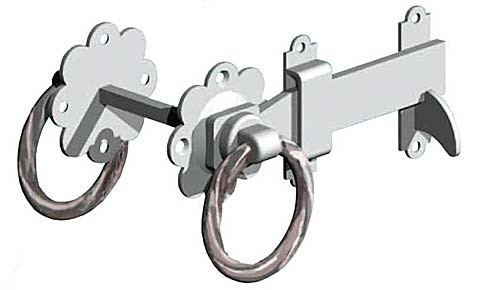
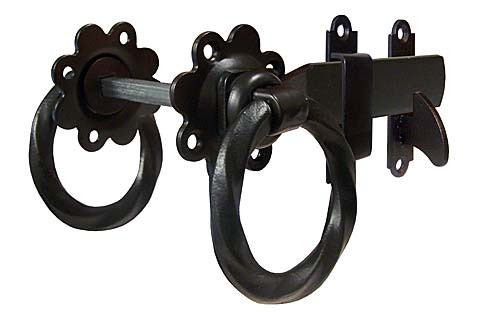
As far as latches, we really love these Abbey Trading Options!
Application #1: How to Install PorchCo Low Maintenance PVC Gates With Wooden Posts:
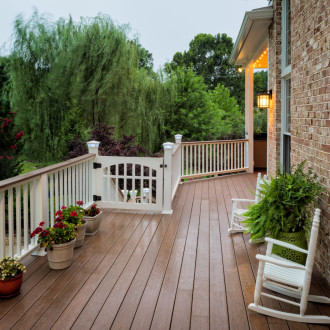
Once you have your proper hardware in hand and desired swing established, screw your hinges into your post and gate(s) accordingly. Once again, keeping in mind the 1/2″ gap between your post and the gate, as well as the desired gate height. Attach your latch to the opposite side. For double gates, be sure to keep 1/2″ gap between the two gates as well. Attach a surface bolt to the bottom of one of your gates if installing a double gate set.
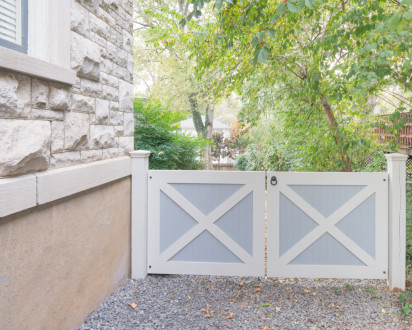
Application #2: How to Install PorchCo Low Maintenance PVC Gates with Brick or Stone Columns:
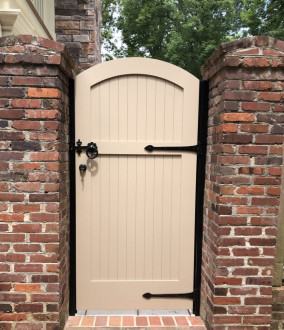
If you are installing gates onto brick or stone columns, you likely do not have a flush surface to attach to. Therefore, we recommend using metal jambs. We recommend purchasing from your local metal supplier hollow 2×2 jambs, and filling them with wood to give those screws something to bite into. Bolt those jambs to the center of your columns so that they are plumb. Once again you will want 1/2″ gap on either side between your jamb and your gate.
You can then attach the same hinges and latches mentioned above, to those aluminum jambs. Once again, keeping in mind your desired inswing vs. outswing.
You may even want to use this method of installation for wooden posts, if you want that gate to be installed in the center of your posts rather than towards the front or back.
Application #3, 4, 5 etc:
There can be many different possible scenarios for gate installations, so it would be impossible to explain them all. Ultimately it is up to you / your installer to determine the best solution.

We hope that however you install your PorchCo PVC gates, you will enjoy them for many many years to come.
Have questions? Call or e-mail us : 615-730-8067 | info@porchstore.com